Table of Contents
Fall foliage season packs Korea’s trails shoulder to shoulder.
Everyone worries about the uphill huffing and puffing, but most knee injuries actually happen on the way down. One distracted step while admiring the colors, and your knees are already absorbing several times their usual load.
This guide covers hiking knee pain prevention for autumn trails: why descents hurt your knees, how to use trekking poles correctly, practical prevention habits, and first aid if you take a fall.
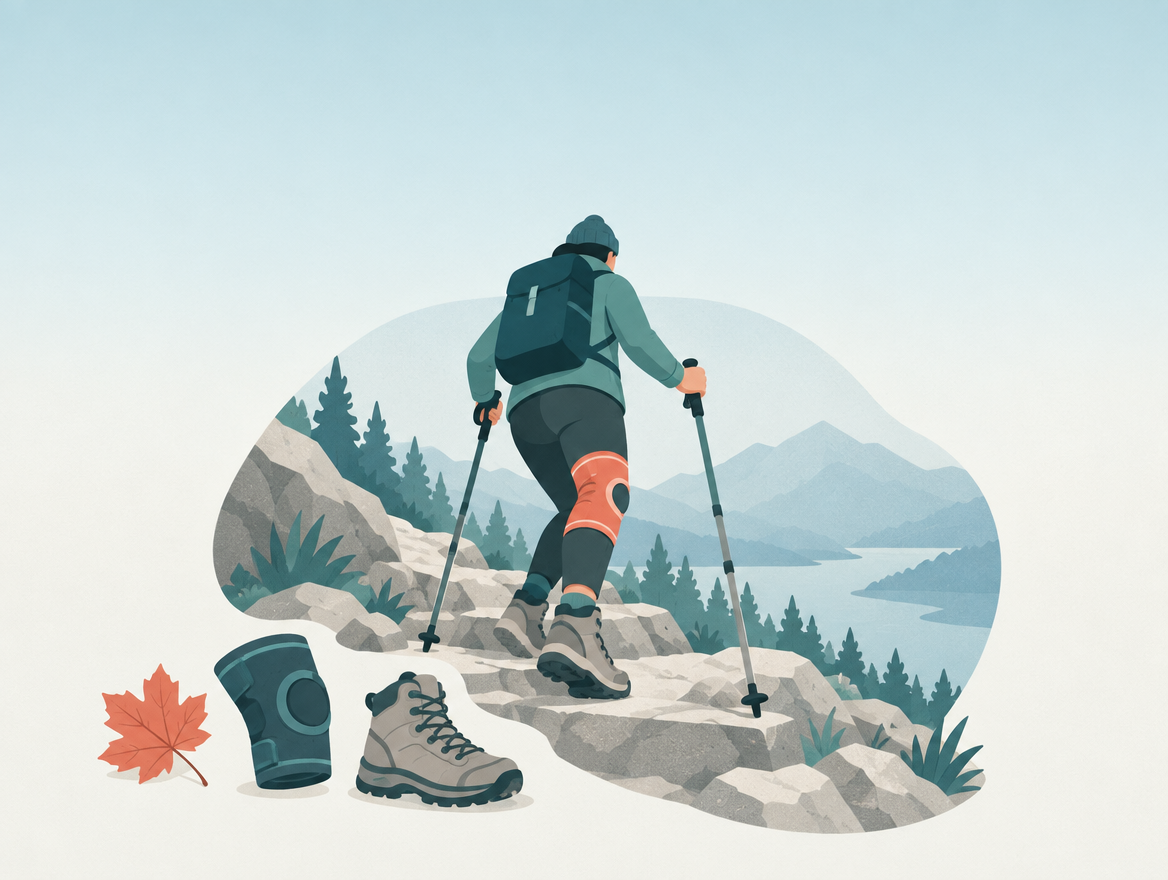
Why do your knees hurt more on the way down?
Because descending puts 3 to 5 times more impact on your knees than walking on flat ground.
For someone weighing 70kg, each downhill step can send roughly 200 to 350kg of force through the knee joint. That load concentrates where your kneecap meets your thighbone, and that’s where the pain starts.
Patellofemoral pain syndrome is a condition where the kneecap tracks off its normal path over the thighbone, causing friction and irritation in the surrounding tissue.
If you feel a nagging ache behind your kneecap on stairs or downhill sections, or a sharp twinge when you squat, this syndrome could be the cause. It shows up more easily in older hikers with osteoarthritis or weaker muscles around the knee.
Downhill impact on your knees is 3-5x that of flat ground. At 70kg, that’s roughly 200-350kg of force per step.
Source: The Wells Nowon clinic blog
Do trekking poles really protect your knees?
Yes. Leaning on poles can cut the load on your knees by more than half.
Shifting about 34% of your body weight onto poles can drop knee load to less than half and hip load to around 0.6 times your body weight, according to Korean orthopedic reporting. Using both poles together is also linked to roughly a 20% reduction in load on your knees and spine.
Trekking poles are gear that shifts weight from your knees to your arms on descents, easing the load on your joints. They only work well if you adjust the length for the terrain.
| Terrain | Pole Length |
|---|---|
| Uphill | Slightly shorter than a 90° elbow bend |
| Flat | 90° elbow angle |
| Downhill | 5-10cm longer than the flat setting |
✅ Plant both poles together on descents and lean into them
✅ Lengthen poles 5-10cm for downhill sections
✅ Zigzag down the trail and never lock your knees straight
Hiking Knee Pain Prevention: How Can You Avoid Knee Injuries on Autumn Hikes?
Warm up before you descend, use poles, manage your pack weight, and strengthen the muscles around your knees.
Hiking knee pain prevention starts before you even hit the trail. Spend at least 10 minutes stretching your knees and ankles beforehand. Keep your pack under 10-15% of your body weight.
Regular squats and stair climbing to build your quads and glutes can help absorb the downhill impact. You can find more on knee joint conditions in our Disease Encyclopedia category. (Internal link: to be replaced with a related article once published)
1. Stretch knees and ankles for 10 minutes before you start
2. Keep your pack under 10-15% of body weight
3. Zigzag downhill with shorter strides
4. Choose boots with solid ankle support
5. Pace yourself with short breaks every 30 minutes
If you have osteoarthritis, carry extra weight, or have injured your knee before, take extra care on descents. A knee brace can help, but if you already have symptoms, talk to an orthopedic doctor before you hike.
What should you do if you fall on the trail?
Don’t push through it — follow the RICE method for initial care.
RICE stands for Rest, Ice, Compression, and Elevation, four steps commonly used as first aid for acute injuries.
- Rest: Stop moving right away and keep weight off the injured area.
- Ice: Wrap ice or a cold water bottle in a cloth and apply for 20 minutes at a time to help with swelling.
- Compression: Wrap the area snugly with a bandage to limit further swelling.
- Elevation: Raise the injured leg above heart level if you can.
If you can’t put any weight on the leg, the knee looks swollen or deformed, or it’s hot and red, stop descending, call for rescue, and get medical care right away. Contact the national park safety center or emergency services immediately.
If pain lingers, see an orthopedic doctor rather than waiting it out. National Health Insurance (Korea’s public health insurance system, which covers most residents) covers a large share of outpatient and ER costs for foreign residents enrolled in the system too.
Frequently Asked Questions
1. Do I need trekking poles going uphill too?
Yes, poles help with balance and push-off going uphill. But their knee-protecting benefit is far bigger on the way down.
2. Can a knee brace fully prevent hiking injuries?
No. A brace can support the joint and reduce perceived load, but it won’t fully prevent injury on its own. Pair it with strength training and proper technique.
3. My knee’s still swollen three days after a hike — what now?
If self-care hasn’t helped and swelling or pain lasts more than three days, see an orthopedic doctor for a proper diagnosis. Ligament or meniscus damage can’t be ruled out.
4. Can I still hike in fall if I have osteoarthritis?
It depends on how severe your symptoms are, so check with your doctor before you go. Choosing a gentle route and using poles with a knee brace together can help.
References
Ministry of the Interior and Safety via Korea.kr, “October Sees the Most Hiking Accidents of the Year” (원제: 10월 연중 등산사고 가장 많아…) Link
The Kyunghyang Shinmun, “9,172 Hiking Accidents a Year, 2,509 Injured” (원제: ‘등산사고’ 한 해 9170여건 발생·2500여명 피해), 2026 Link
Hidoc Expert Column, “What Is the RICE Method for Injury First Aid?” (원제: 부상 후 초기 대처 ‘RICE 요법’이란?) Link
Seoul Economic Daily, “Trekking Poles Cut Spine and Knee Surgery Rates in Half” (원제: 등산스틱 쓰면 척추·무릎 수술 절반 줄어요) Link
Mayo Clinic, “Sprain: First aid” Link
This article is for general informational purposes only and is not a substitute for professional medical advice, diagnosis, or treatment. Please consult a qualified healthcare provider if you have health concerns.
Leave a Reply